Speech-to-text technology powers many modern workflows. It helps with meeting transcripts and video subtitles. AWS Transcribe is Amazon‘s answer to this need. It offers a reliable way to convert audio to text in multiple languages. This guide—our fourth on speech recognition—walks you through your first AWS Transcribe project. Learn how to unlock new possibilities for your audio content.
What You’ll Need
- An AWS account (existing or new)
- Audio file for transcription
- A few minutes of your time
Overview
Here’s what we’ll cover:
- Setting up an S3 bucket to store your audio files
- Uploading your audio file to S3
- Creating and running a transcription job
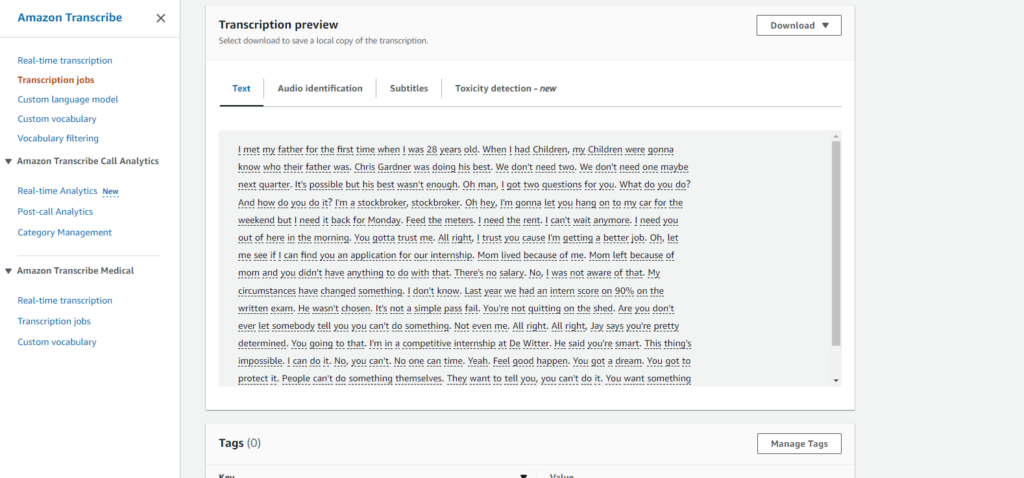
- Accessing your transcription results
Let’s get started!
Step 1: Create a Bucket on AWS S3
- First of all you need to have an account into AWS and log in to it.
- Go to aws.amazon.com and find “Amazon transcribe” service on the site.
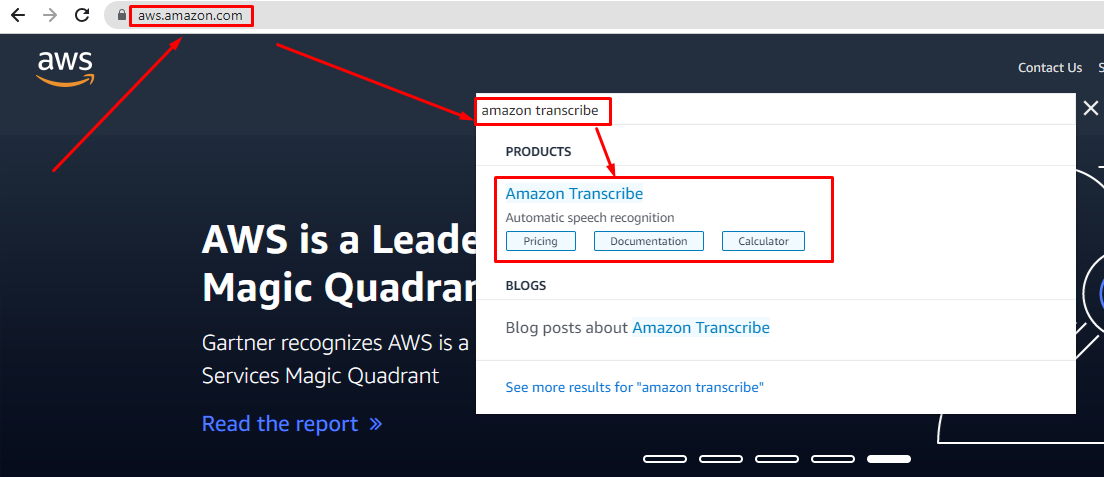
And open it.
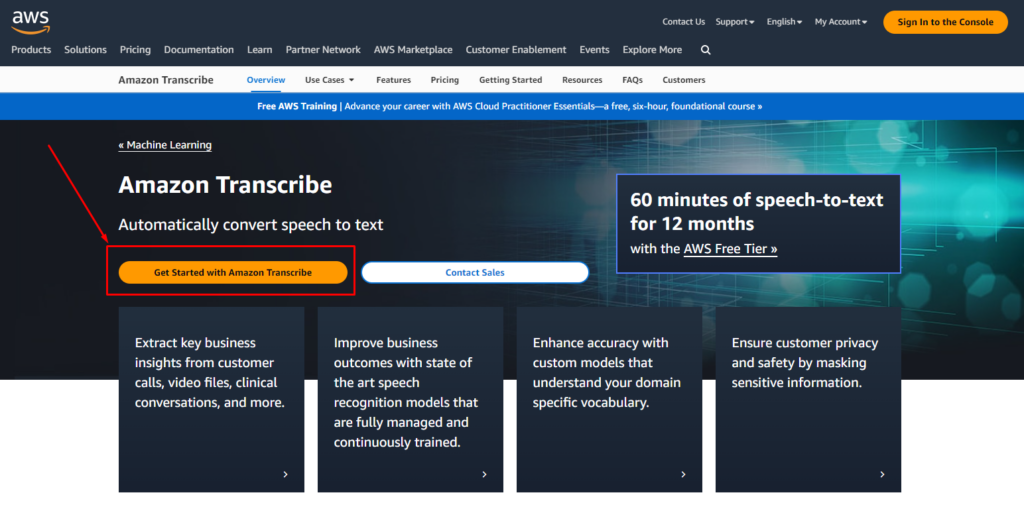
- Create a Transcribing job.
For this, click the “Create job” button. The transcription job details form opens.
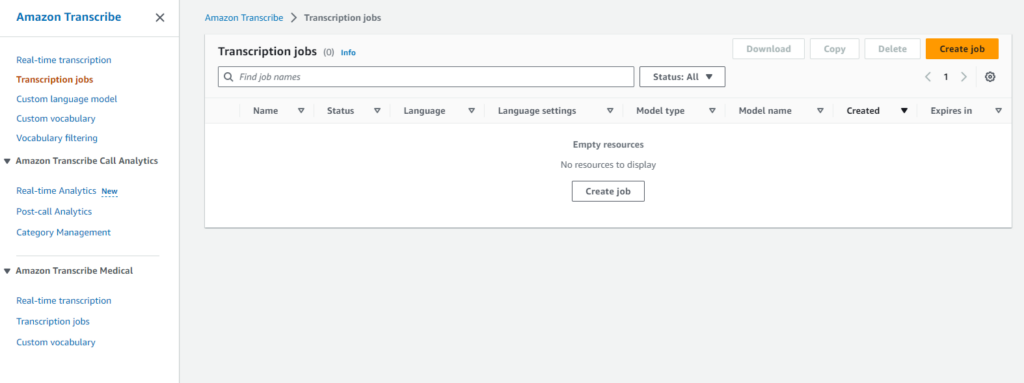
- Fill in the “Name” field, default language for our demo is English.
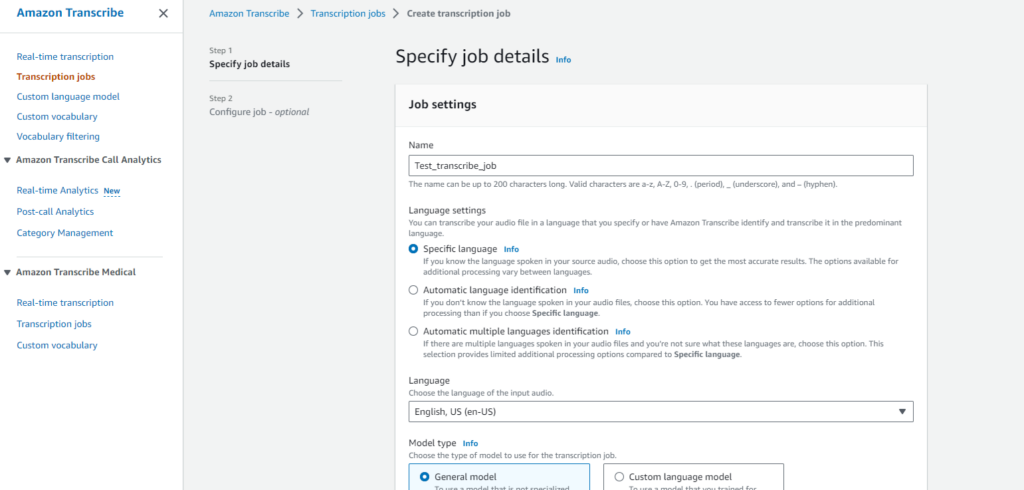
- Next, we need to scroll down to the “Input data” block. As we can see, AWS Transcribe service requires a URL with a transcribing object. For this purpose we can use only another Amazon service — S3.
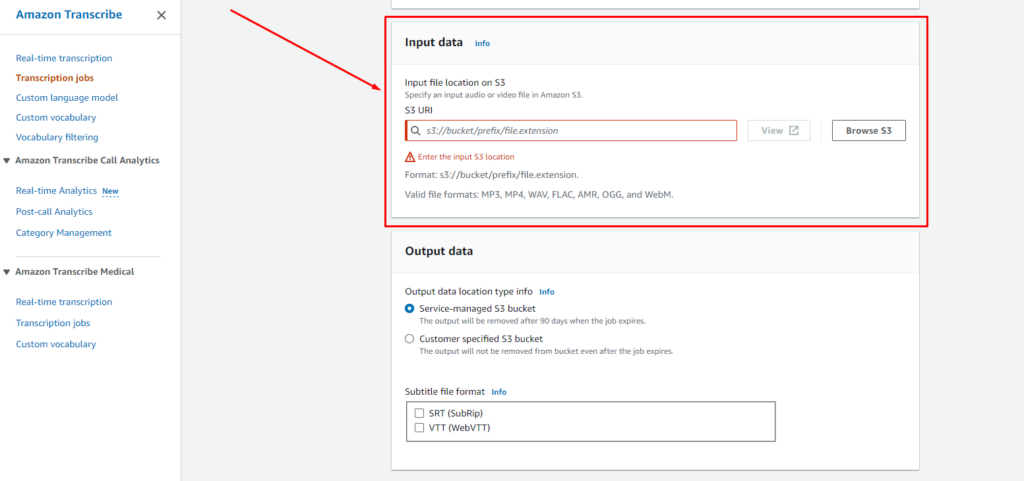
Create a bucket on AWS S3
- Create an S3 bucket.
Open aws.amazon.com in the new tab, find S3 service and open it as we did with AWS Transcribe. We need to create a new bucket or use an existing bucket. Let’s create a new one. Click the “Create bucket” button.
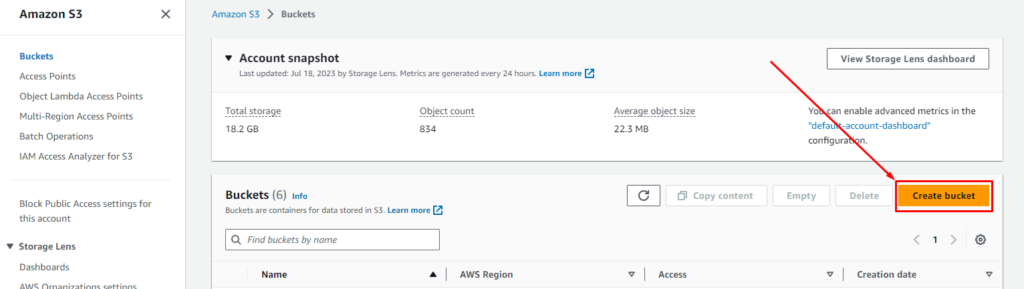
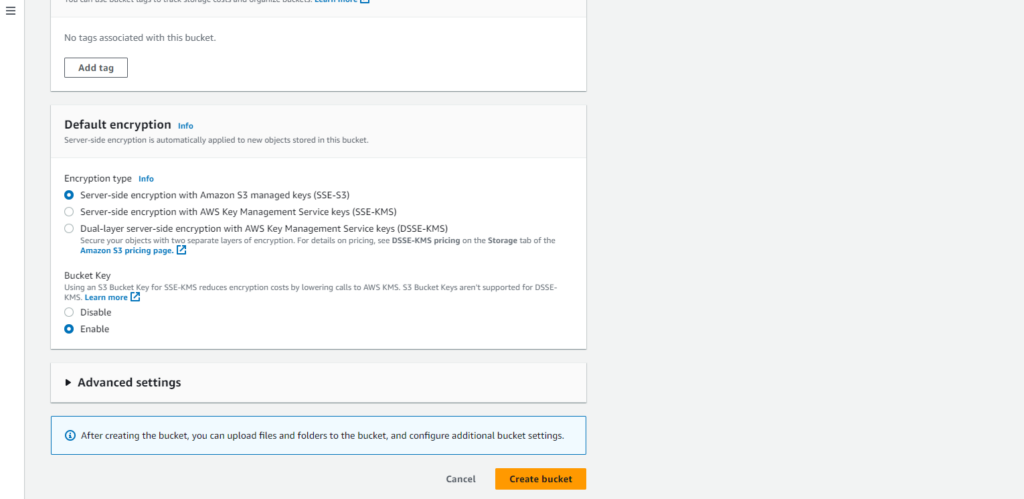
Fill in the “Bucket name” field and other settings if needed.
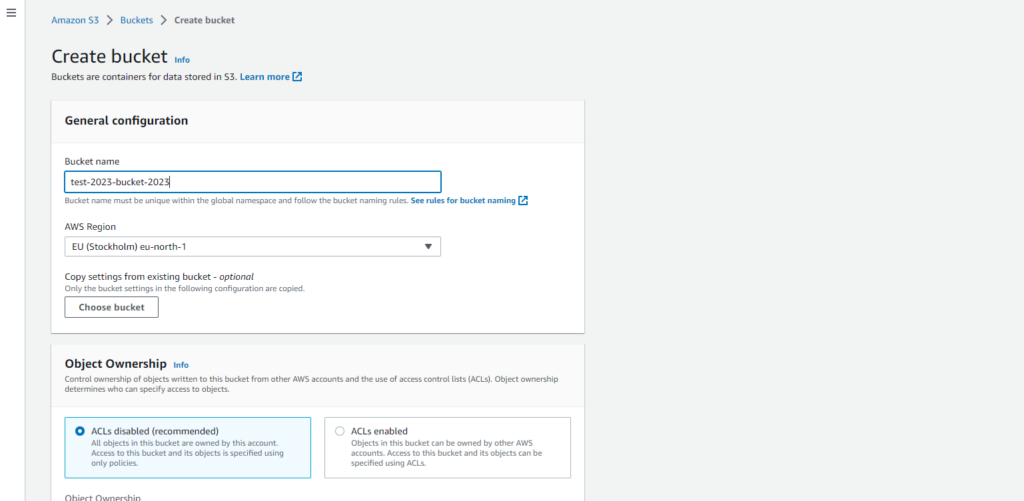
Then click the “Create bucket” button.
Bucket is successfully created.

Important notice: S3 bucket and transcription job must be created with the same AWS region, otherwise you will get an error.
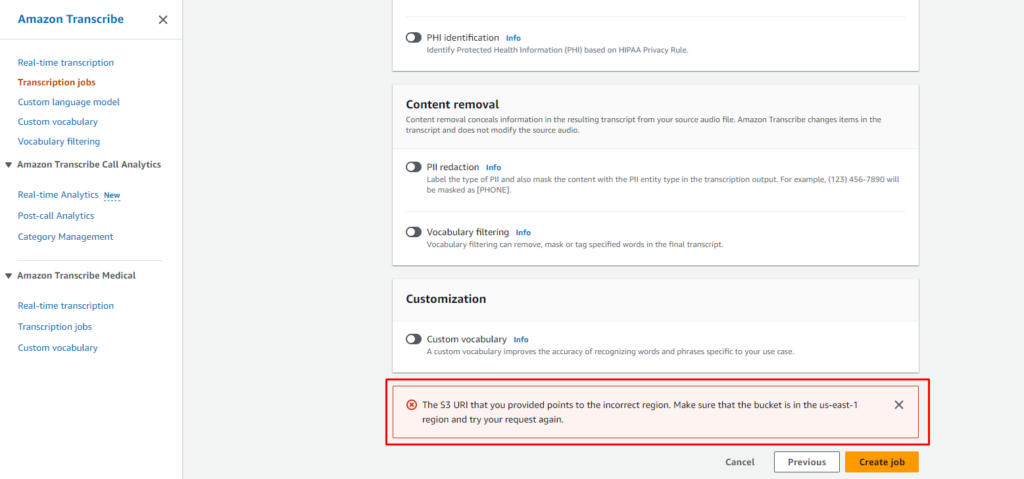
Create a transcribing job
- Go to the newly created bucket and upload a file for transcription from your PC by clicking the “Upload” button.
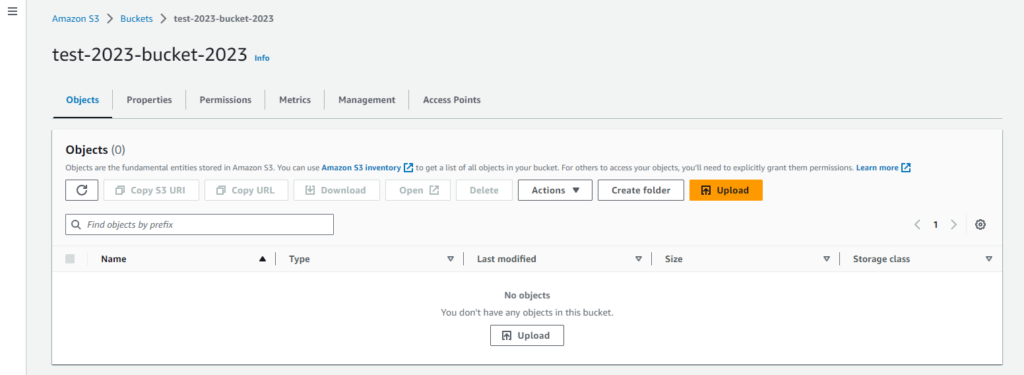
- Then you can add your files or folders.
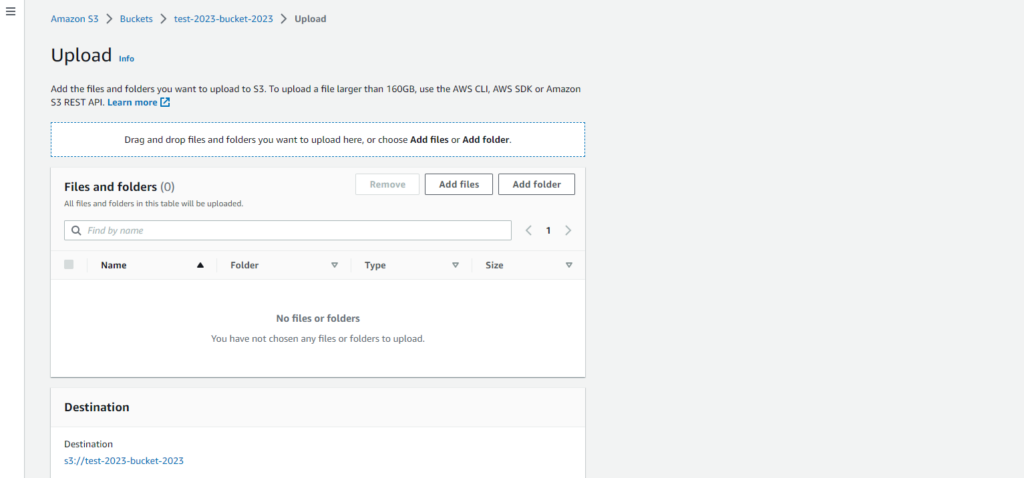
- Click the “Upload” button.
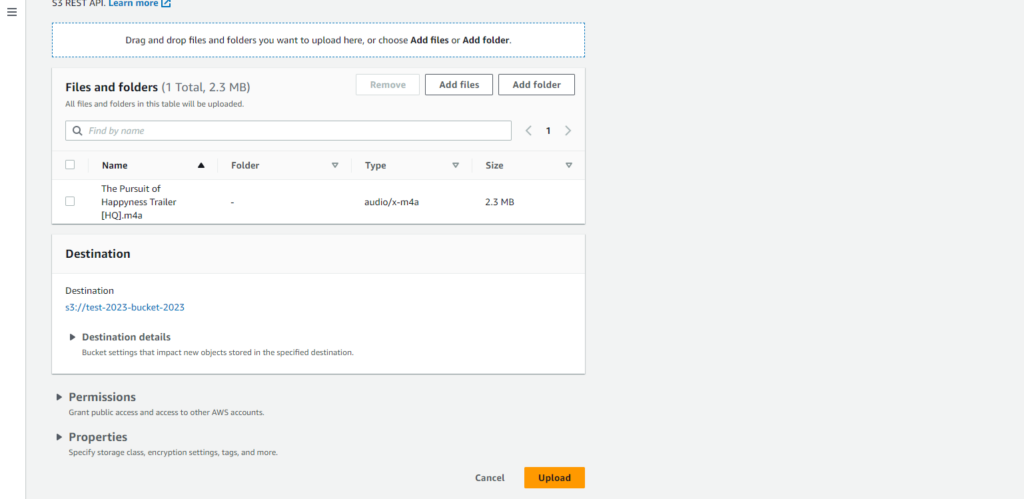
We can see the uploading progress on the image below.
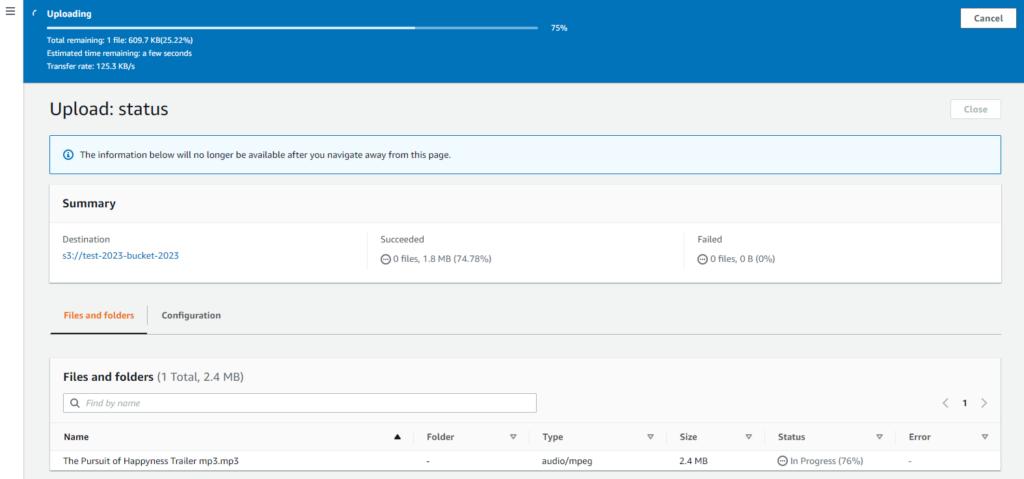
- See the result after upload. Next click the “Close” button.
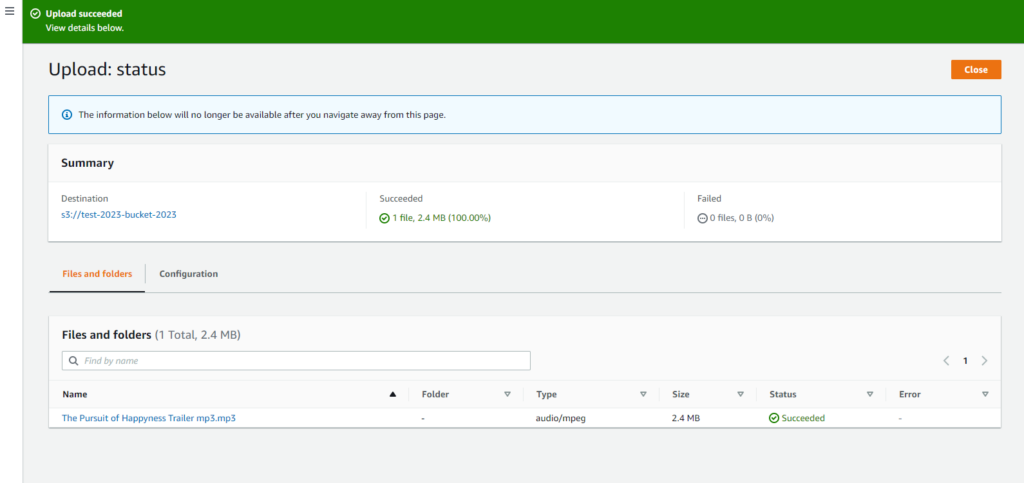
- Then select the checkbox in front of your file for transcribing and click “Copy S3 URI”.
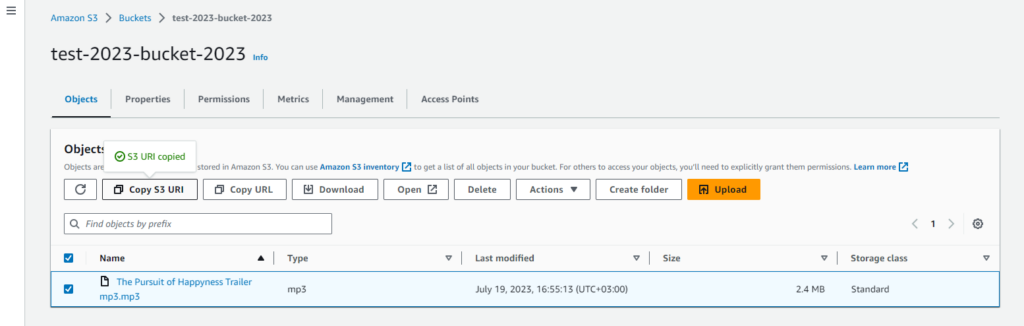
So, now we have uploaded file and URI. We went back to our tab with started creation of transcription job and paste URI into “S3 URI” field.
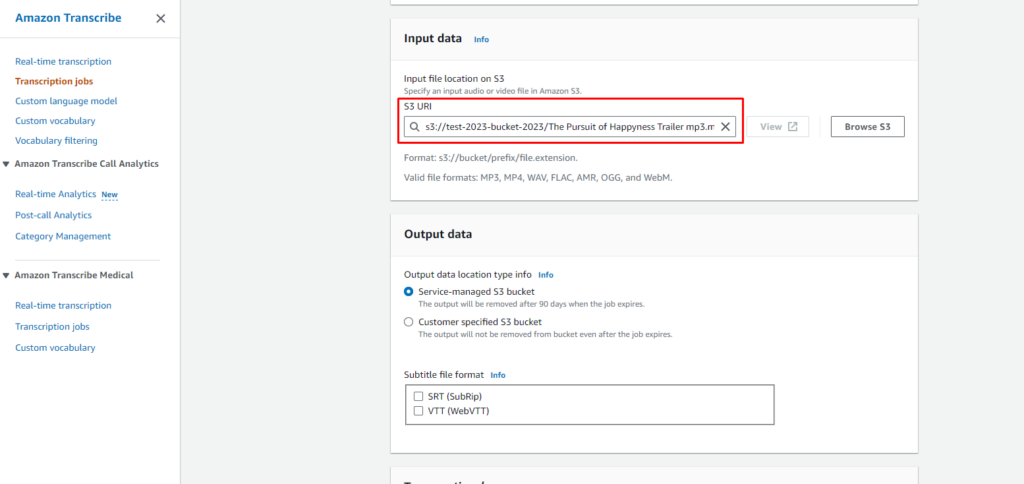
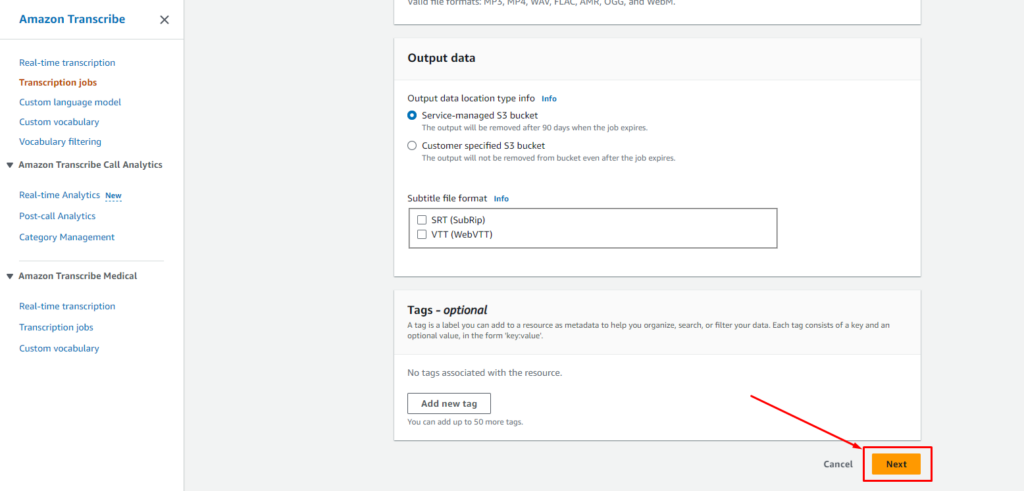
Then click “Next”.
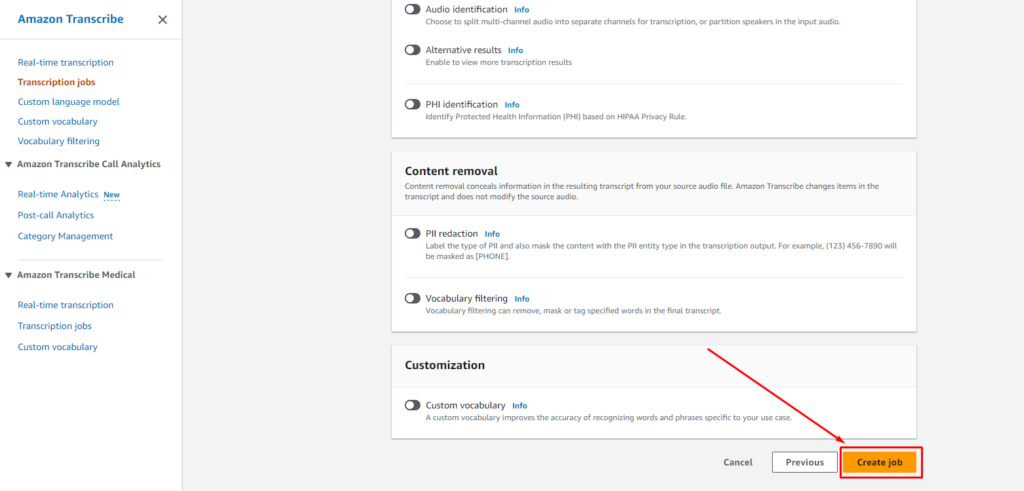
- Configure our future job if it’s needed.
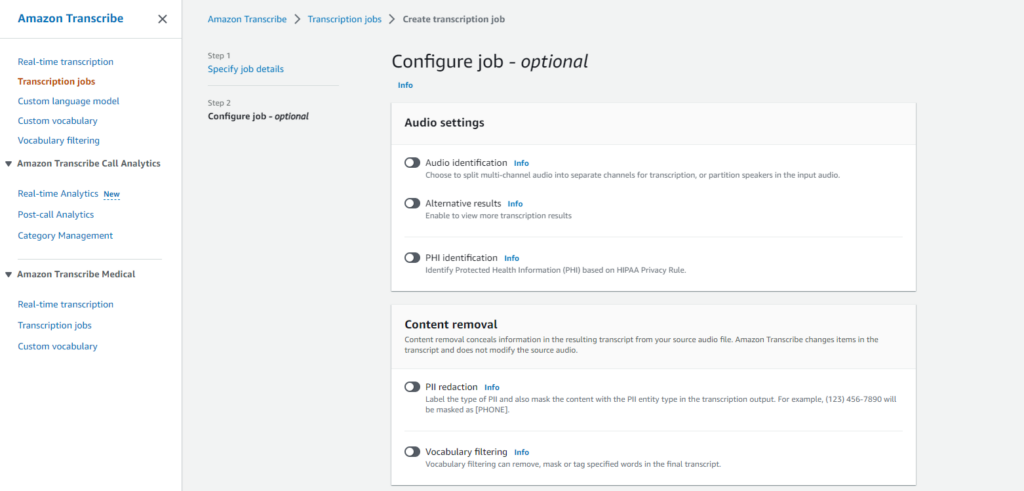
- And click the “Create job” button.
Status “In progress”.
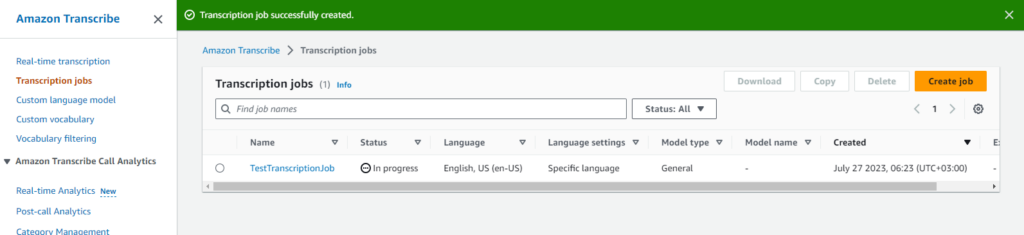
Status changed to “Complete”.

Go to transcription job details.
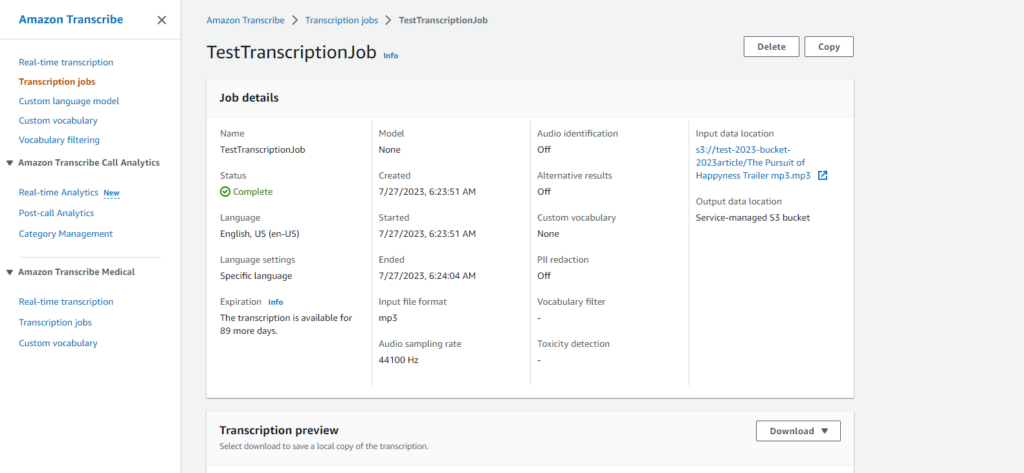
Your audio file transcription successfully created.
Conclusion
We’ve explained the fundamental application of Speech-to-Text from Google, which is one of the most frequent and simple use cases, to give you a basic understanding. In our series of articles, we explore more efficient strategies in this field for your benefit, such as Microsoft Azure (Speech to Text), Whisper from OpenAI and Google Transcribe. If you need a more complex solution for integrating with your existing or future applications, feel free to contact us for detailed information and services.